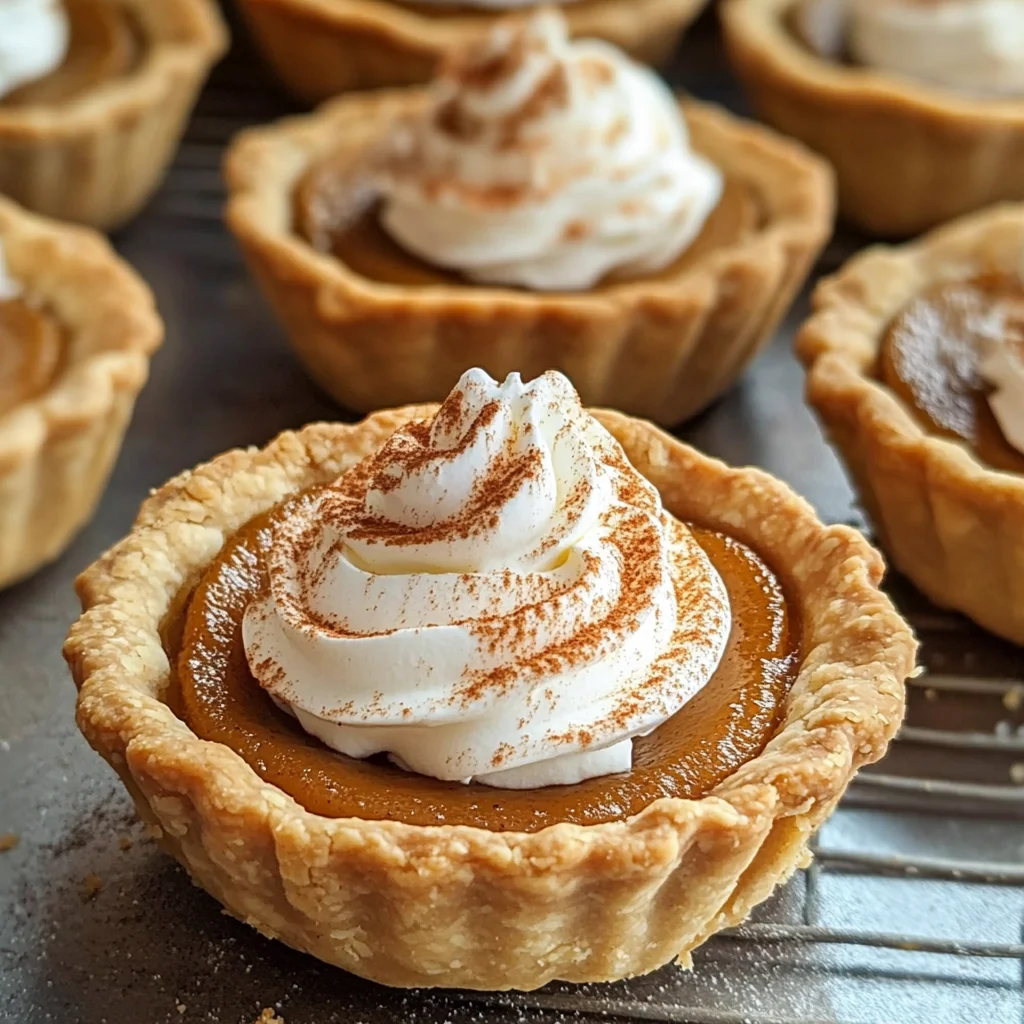
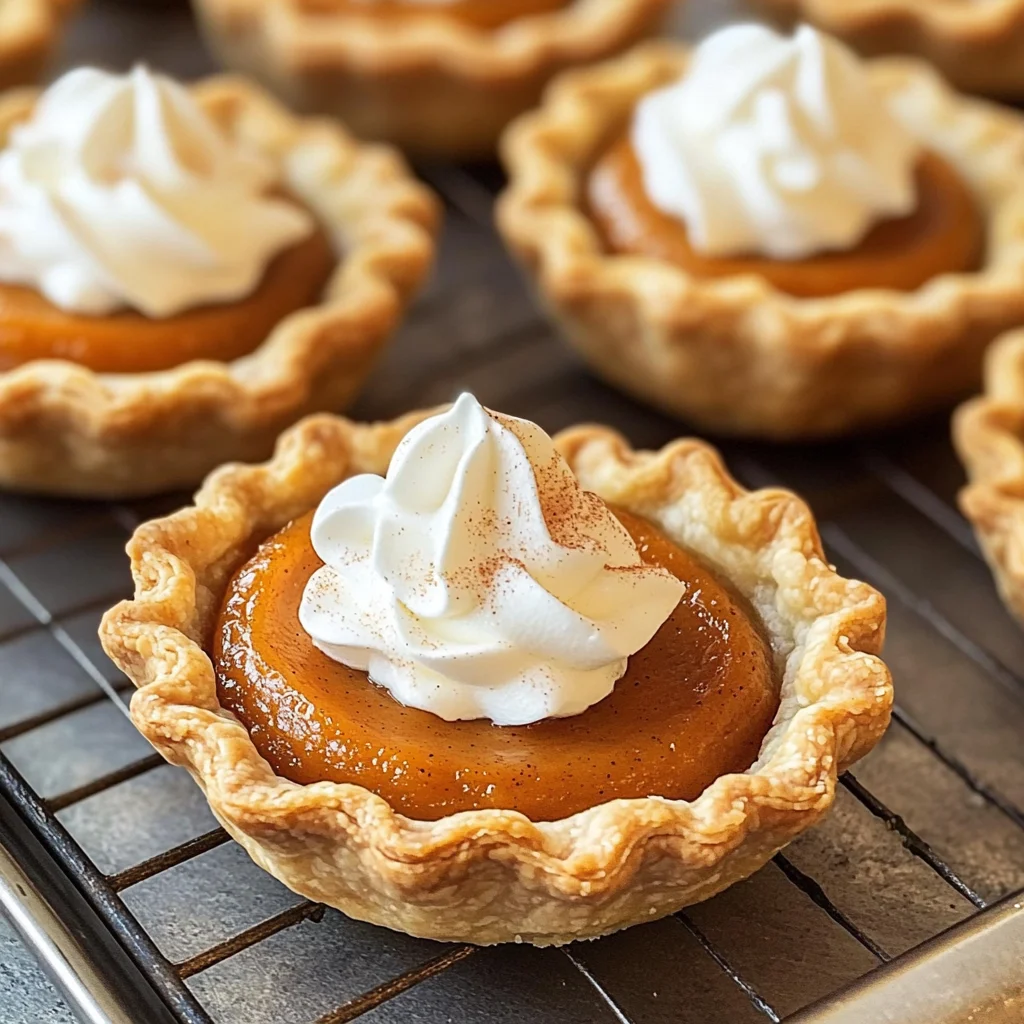
Mini Pumpkin Pies
If you’re looking for a delightful treat that captures the essence of autumn, you’ve come to the right place! These Mini Pumpkin Pies are perfect for cozy family gatherings, festive parties, or even just a busy weeknight when you crave something sweet. I love this recipe because it offers all the warm spices and comforting flavors of traditional pumpkin pie but in adorable little servings. Plus, who can resist a mini dessert that feels like a personal treat?
These pies are not only delicious but also incredibly easy to whip up. Whether you’re a seasoned baker or just starting out, you’ll find joy in making these little gems. So grab your ingredients and let’s get baking!
Why You’ll Love This Recipe
- Quick and Easy: With just a few simple steps, you can have these delicious Mini Pumpkin Pies ready to bake in no time!
- Perfect Portions: Individual servings mean everyone gets their own little pie—no sharing required!
- Make-Ahead Friendly: These pies can be made in advance and stored for later, making them great for busy days.
- Festive Flavor: They capture all the classic fall flavors we love without the fuss of a big pie.
- Customizable Topping: Top with homemade whipped cream for an extra special touch that friends and family will love.
Ingredients You’ll Need
Let’s gather some simple and wholesome ingredients to make these Mini Pumpkin Pies. You might even have some of them on hand already! Here’s what you’ll need:
For the Crust
- 2 9-inch unbaked pie crusts (homemade or store bought)
For the Filling
- 1/3 cup brown sugar
- 2 tablespoons granulated sugar
- 1 1/2 teaspoons pumpkin pie spice
- 1/4 teaspoon salt
- 1 cup canned pumpkin puree (not pumpkin pie filling)
- 3/4 cup evaporated milk
- 1 large egg (lightly beaten)
- 1/2 teaspoon vanilla extract
For Serving
- Homemade whipped cream (for topping)
Variations
One of the best things about this recipe is its flexibility! Feel free to get creative with your Mini Pumpkin Pies. Here are some fun ideas:
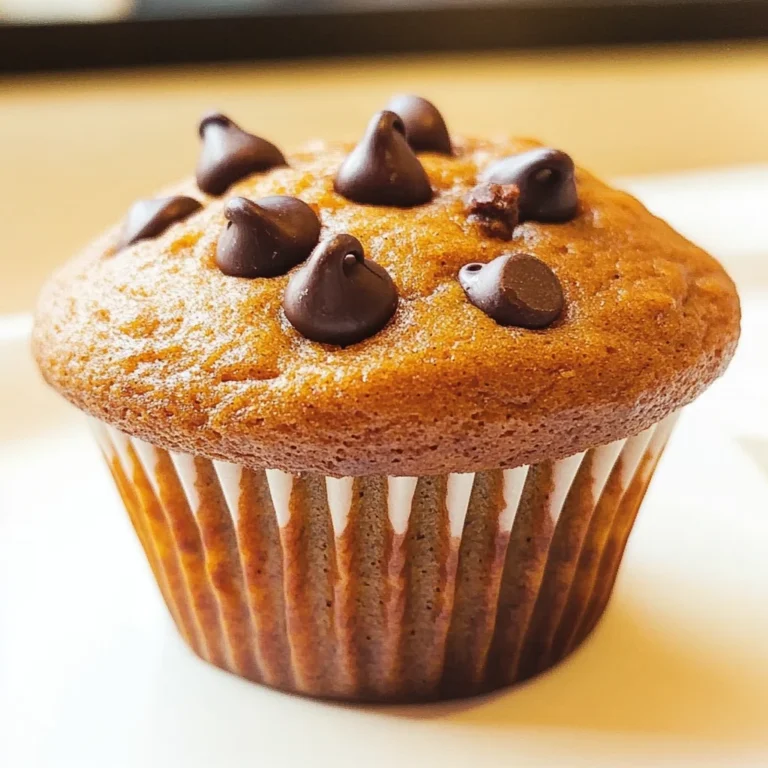
- Add Chocolate Chips: Mix in a handful of chocolate chips for a sweet surprise!
- Nutty Crunch: Sprinkle chopped pecans or walnuts on top before baking for added texture.
- Spice it Up: If you love spice, add an extra pinch of cinnamon or nutmeg to the filling.
- Dairy-Free Option: Substitute evaporated milk with coconut milk for a dairy-free version that’s just as tasty.
How to Make Mini Pumpkin Pies
Step 1: Prepare the Oven and Pie Crust
Preheat your oven to 400 degrees F. This step is crucial because a hot oven helps ensure that your mini pies bake evenly and develop a lovely golden crust. On a lightly floured surface, roll out your pie crusts to about 1/8-inch thick. Using a 3 1/2-inch cookie cutter or cup, cut out circles from the dough—about 18 total. Don’t worry if you need to re-roll scraps; that’s all part of the fun!
Step 2: Assemble Your Pie Shells
Carefully place each circle of pie crust into the slots of two standard 12-count muffin pans. Press them gently down and around the sides so they fit snugly. This will create little cups ready to hold your delicious filling! Pop the muffin pans into the refrigerator while you prepare your filling; this helps keep the dough firm.
Step 3: Whisk Together Your Filling
In a mixing bowl, whisk together the brown sugar, granulated sugar, pumpkin pie spice, and salt until everything is well combined—this mix brings out those warm flavors we love! Next, whisk in the pumpkin puree, evaporated milk, egg, and vanilla extract until fully blended. This creates that creamy filling we crave in pumpkin desserts.
Step 4: Fill Your Pie Crusts
Take those chilled muffin pans out of the refrigerator and evenly distribute your pumpkin filling among all 18 crusts—about 2 tablespoons per pie crust should do it! Be careful not to overfill; we want them to bake beautifully without spilling over.
Step 5: Bake Them Up!
Place your muffin pans in the preheated oven and bake for about 16-20 minutes or until the tops are set and slightly golden brown. Keep an eye on them; we don’t want any burnt edges ruining our mini pies!
Step 6: Cool and Chill
Once they’re done baking, remove them from the oven and let them cool on a wire rack for about 30 minutes before gently taking them out of the muffin pan. Allow them to cool completely at room temperature before transferring them to an airtight container. Chill in the refrigerator for at least three hours—or overnight if you can wait!
Step 7: Serve with Joy
When you’re ready to enjoy these Mini Pumpkin Pies, take them out of the fridge. You can serve them chilled or at room temperature—both options are delightful! Don’t forget to top with homemade whipped cream for that perfect finishing touch.
Enjoy each bite of these charming Mini Pumpkin Pies with family and friends—they’re sure to become a favorite in no time!
Pro Tips for Making Mini Pumpkin Pies
Making mini pumpkin pies is a delightful experience, and a few tips can help you achieve the best results!
-
Use chilled ingredients – Keeping your pie crust and filling ingredients cold helps create a flaky crust and prevents the filling from separating during baking.
-
Don’t overfill the crusts – Fill each mini crust only about 2 tablespoons deep to allow for proper rising while baking. Overfilling can lead to messy overflow.
-
Watch the baking time closely – Mini pies bake quickly, so keep an eye on them in the oven to prevent burning. They should be set but not overcooked.
-
Let them cool completely – Cooling allows the flavors to meld beautifully, and it also makes removing them from the muffin pan much easier.
-
Experiment with spices – Don’t hesitate to add a pinch of nutmeg or ginger for an extra layer of flavor in your filling. This can elevate the overall taste profile of your mini pumpkin pies.
How to Serve Mini Pumpkin Pies
Presenting your mini pumpkin pies can make all the difference at gatherings, making them not just tasty but visually appealing as well. Here are some fun ideas on how to serve them:
Garnishes
- Whipped Cream: A dollop of homemade whipped cream adds a creamy texture that perfectly complements the spiced pumpkin filling.
- Cinnamon Sprinkle: A light dusting of ground cinnamon or pumpkin pie spice on top enhances the visual appeal and aroma.
- Caramel Drizzle: A drizzle of caramel sauce can add a sweet touch that pairs wonderfully with the pumpkin flavor.
Side Dishes
- Autumn Salad: A fresh salad made with mixed greens, sliced apples, walnuts, and a light vinaigrette provides a crisp contrast to the richness of the pies.
- Spiced Apple Cider: Warm spiced apple cider is a comforting beverage choice that pairs delightfully with these flavorful treats.
- Cheese Platter: A selection of cheeses, such as sharp cheddar or creamy brie, offers savory options that balance out the sweetness of the mini pies.
- Roasted Nuts: A bowl of roasted nuts seasoned with herbs or spices serves as a crunchy snack that complements any dessert table beautifully.
These serving suggestions will not only enhance your mini pumpkin pies but will also impress your guests! Enjoy sharing these delightful treats at your next gathering.
Make Ahead and Storage
These Mini Pumpkin Pies are perfect for meal prep and can be made in advance, making them great for gatherings or cozy nights at home. Here’s how to store and keep your delicious treats fresh!
Storing Leftovers
- Store the mini pumpkin pies in an airtight container in the refrigerator.
- They can be kept for up to 3 days without losing their delightful flavor.
- If you prefer, place a piece of parchment paper between layers to prevent sticking.
Freezing
- To freeze, first ensure the mini pies are completely cooled.
- Arrange them in a single layer on a baking sheet and freeze until solid.
- Once frozen, transfer the pies to a freezer-safe container or zip-top bag, separating layers with parchment paper. They can be frozen for up to 2 months.
Reheating
- To reheat from frozen, preheat your oven to 350 degrees F.
- Place the mini pumpkin pies on a baking sheet and cover loosely with aluminum foil.
- Bake for about 10-15 minutes or until warmed through. Enjoy them warm!
FAQs
Here are some common questions you might have about making Mini Pumpkin Pies.
Can I make Mini Pumpkin Pies without eggs?
Yes! You can substitute the egg with a flaxseed meal or a commercial egg replacer. Simply mix 1 tablespoon of flaxseed meal with 2.5 tablespoons of water and let it sit until it thickens.
How do I ensure my Mini Pumpkin Pies come out perfectly set?
Make sure to bake them until the tops are slightly firm to the touch and the edges are golden brown. Avoid overbaking as this can lead to cracks.
What other toppings work well with Mini Pumpkin Pies?
You can top your Mini Pumpkin Pies with chopped nuts, caramel sauce, or even a sprinkle of cinnamon for added flair!
Are these Mini Pumpkin Pies suitable for special occasions?
Absolutely! These delightful treats are perfect for fall gatherings, Halloween parties, or any time you want to impress your guests with something sweet and seasonal.
Final Thoughts
I hope you find joy in making these Mini Pumpkin Pies! They’re not only adorable but also bursting with flavor that captures the essence of fall. Whether you’re serving them at a gathering or enjoying them solo, they’re sure to bring warmth and happiness. Happy baking, and I can’t wait for you to try this delightful recipe!
Mini Pumpkin Pies

Indulge in the warmth of autumn with these delightful Mini Pumpkin Pies. Perfect for any gathering or a cozy evening at home, these bite-sized treats capture the classic flavors of traditional pumpkin pie, all in an adorable individual serving. With a creamy pumpkin filling infused with warm spices and a flaky crust, they are sure to become a favorite among family and friends. Plus, they’re easy to prepare, making them an ideal dessert for bakers of all skill levels. Top each pie with homemade whipped cream for an extra special touch that everyone will love!
- Prep Time: 20 minutes
- Cook Time: 20 minutes
- Total Time: 40 minutes
- Yield: Approximately 18 servings 1x
- Category: Dessert
- Method: Baking
- Cuisine: American
Ingredients
- 2 unbaked 9-inch pie crusts
- 1/3 cup brown sugar
- 2 tablespoons granulated sugar
- 1 1/2 teaspoons pumpkin pie spice
- 1/4 teaspoon salt
- 1 cup canned pumpkin puree
- 3/4 cup evaporated milk
- 1 large egg (lightly beaten)
- 1/2 teaspoon vanilla extract
Instructions
- Preheat your oven to 400°F. Roll out the pie crusts on a floured surface and cut into circles using a cookie cutter.
- Place the dough circles into muffin pans, pressing them down gently.
- In a mixing bowl, whisk together brown sugar, granulated sugar, pumpkin pie spice, and salt. Add pumpkin puree, evaporated milk, egg, and vanilla; mix until smooth.
- Pour the filling into each crust until about two-thirds full.
- Bake for 16-20 minutes until set and golden brown. Cool on a wire rack before serving.
Nutrition
- Serving Size: 1 serving
- Calories: 120
- Sugar: 10g
- Sodium: 50mg
- Fat: 6g
- Saturated Fat: 3g
- Unsaturated Fat: 2g
- Trans Fat: 0g
- Carbohydrates: 14g
- Fiber: 1g
- Protein: 2g
- Cholesterol: 30mg