Halloween Pudding Cups
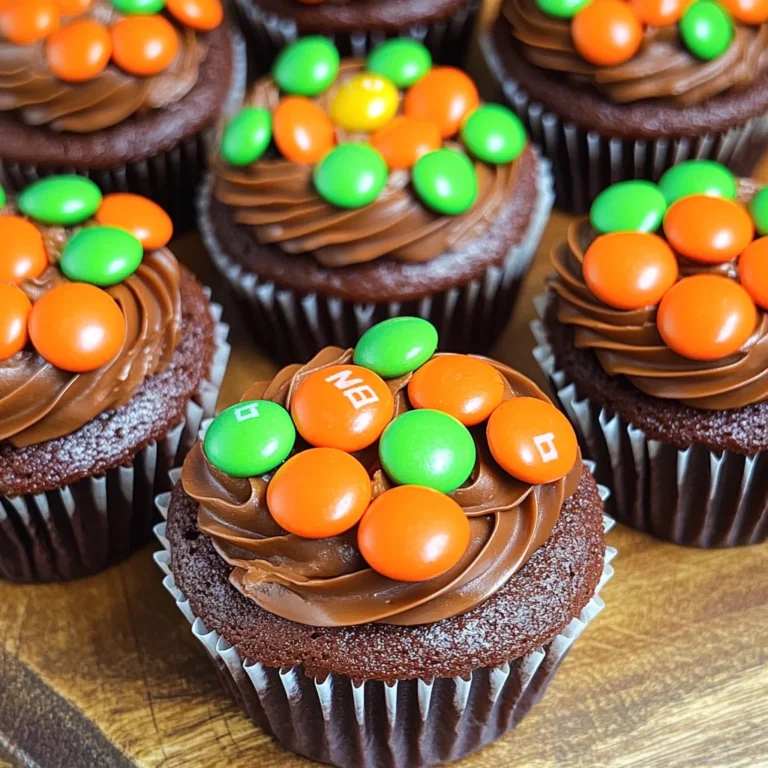
If you’re looking for a fun and festive treat to celebrate Halloween, these Halloween Pudding Cups are just what you need! This delightful dessert combines chocolate cake, creamy pudding, and crunchy Oreo cookies to create a layered masterpiece that’s as tasty as it is visually appealing. It’s an absolute hit at parties and family gatherings, bringing smiles and excitement to everyone who tries it!
What makes this recipe even more special is how easy it is to prepare. Whether you’re whipping them up for a spooky get-together or just for some weekend fun with the kids, these Halloween Pudding Cups are sure to become a favorite in your home.
Why You’ll Love This Recipe
- Easy to make: With simple steps and accessible ingredients, you can whip these up without any fuss!
- Family-friendly fun: Kids will love helping with the layering and decorating—it’s a great way to spend time together.
- Perfect for parties: These colorful cups are sure to impress guests and add a festive touch to any Halloween celebration.
- Make-ahead convenience: You can prepare these ahead of time, making party planning a breeze.
- Deliciously customizable: The flavor combinations and decorations are endless, allowing you to personalize each cup!
Ingredients You’ll Need
These Halloween Pudding Cups use simple, wholesome ingredients that you probably already have in your pantry. Here’s what you’ll need:
For the Cake
- 1 15.25 ounce box devils food cake
- Water (oil and eggs as called for on the box)
For the Pudding
- 2 3.4 ounce boxes white chocolate instant pudding
- 4 cups cold milk
For the Toppings
- 8 ounces whipped topping
- Neon green (orange and purple food coloring)
- 1 ½ cups crushed Oreo cookies
- Milano cookies
- Halloween candy and sprinkles for decor
- 10 8 ounce clear buckets
Variations
This recipe is wonderfully flexible! Feel free to get creative with your Halloween Pudding Cups by trying out these variations:
- Mix up the flavors: Use different pudding flavors like chocolate or butterscotch for a unique twist.
- Add fruit layers: Incorporate layers of mashed bananas or strawberries for added freshness.
- Switch the cookies: Try crumbled graham crackers or animal crackers instead of Oreos for a different crunch.
- Get festive with toppings: Use seasonal candies like candy corn or gummy worms for extra Halloween flair!
How to Make Halloween Pudding Cups
Step 1: Bake the Cake
Preheat your oven to 350 degrees Fahrenheit. Prepping your baking dish is crucial; it ensures an even bake. In a large bowl, combine your cake mix, water, oil, and eggs according to the instructions on the box. Pour this mixture into your prepared baking dish and bake as directed until fully cooked. Once cooled, slice the cake into bite-sized squares that will fit perfectly in your pudding cups.
Step 2: Prepare the Pudding
While your cake is cooling, let’s make that creamy pudding! In another bowl, mix together the white chocolate instant pudding with cold milk until it thickens nicely. This step is key because it creates that luscious layer between the cake and cookies.
Step 3: Color Your Pudding
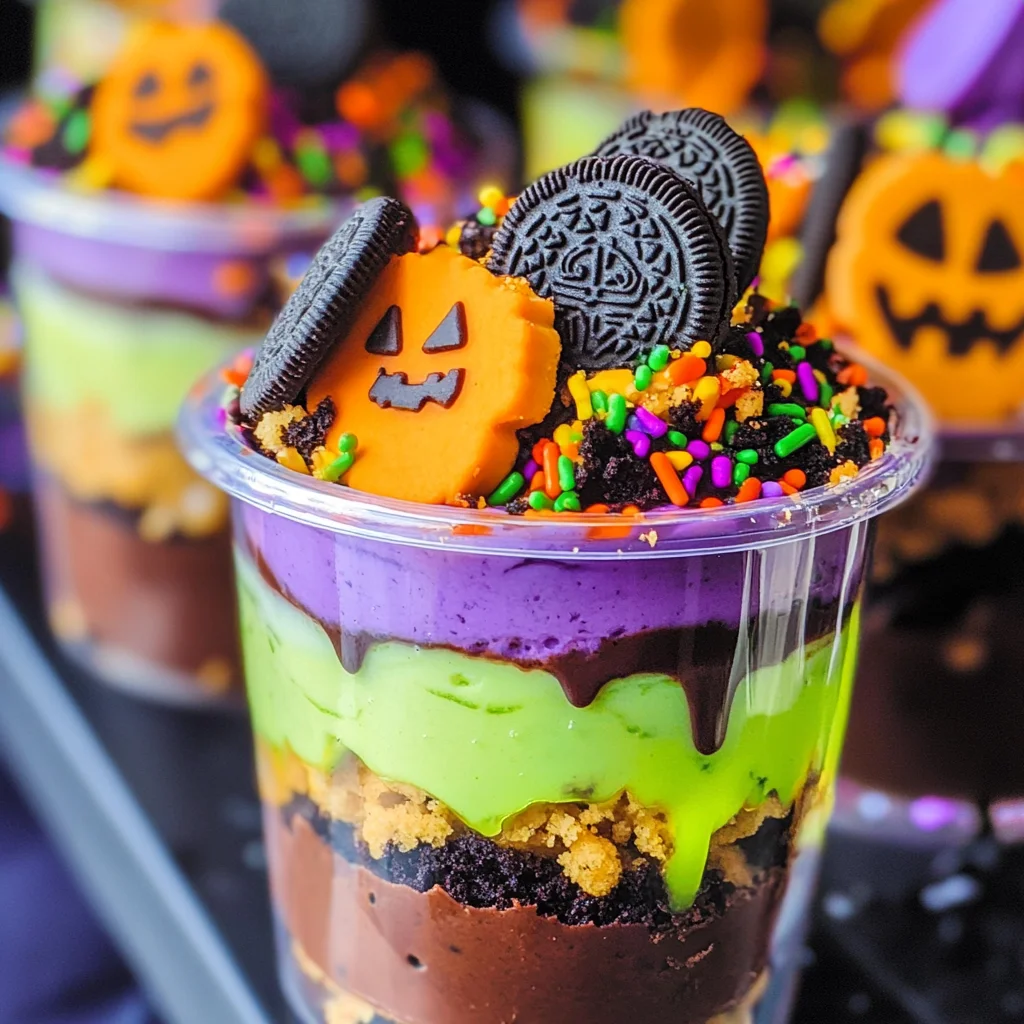
Now comes the fun part! Divide your thickened pudding into three bowls. Add neon food coloring—green in one bowl, orange in another, and purple in the last—to create vibrant layers that scream Halloween! You can adjust the colors based on how bright or mellow you want them.
Step 4: Assemble Your Cups
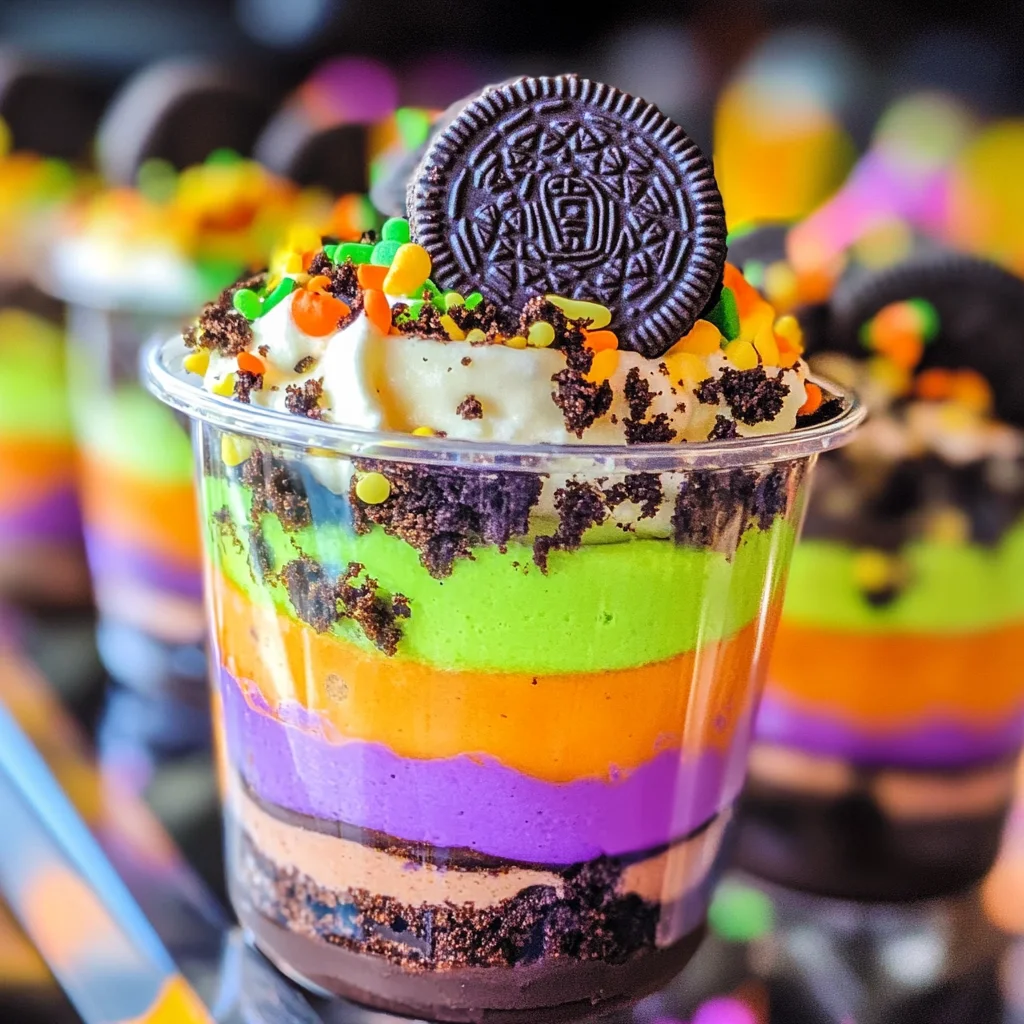
Grab those clear buckets! Start by placing a layer of chocolate cake at the bottom of each cup followed by a layer of one colored pudding. Then sprinkle some crushed Oreo cookies on top before adding another layer of pudding from a different color. Repeat this process until each cup is filled beautifully! Finish off with whipped topping and top with Milano cookies, sprinkles, or any Halloween candy you fancy.
And there you have it—your very own Halloween Pudding Cups ready to thrill friends and family alike! Enjoy every delightful spoonful!
Pro Tips for Making Halloween Pudding Cups
Creating Halloween Pudding Cups can be a delightful experience, and with these tips, you’ll ensure your dessert stands out at any spooky gathering!
-
Cool the Cake Completely: Allowing the cake to cool fully before cutting it into squares prevents it from crumbling and ensures neat layers in your pudding cups.
-
Use Quality Pudding Mix: Selecting a high-quality instant pudding mix will significantly enhance the flavor and texture of your dessert. It will give you that rich creaminess that everyone loves.
-
Experiment with Colors: Don’t hesitate to mix different shades of food coloring in your pudding. This not only adds a visual appeal but also allows you to create fun themes or spooky effects that are perfect for Halloween.
-
Layer with Care: When layering your ingredients in the cups, take your time to make each layer distinct. This creates a beautiful presentation and ensures every bite is packed with flavor.
-
Chill Before Serving: Letting the assembled pudding cups chill in the fridge for at least an hour helps meld the flavors together and provides a refreshing treat on party day.
How to Serve Halloween Pudding Cups
Serving Halloween Pudding Cups can be just as fun as making them! Here are some creative ideas to help you impress your guests and create a festive atmosphere.
Garnishes
- Crushed Candy Corn: Adding crushed candy corn on top gives a colorful, sweet crunch that’s very much in line with the Halloween spirit.
- Chocolate Spider Webs: Use melted chocolate piped into spider web shapes on parchment paper for an elegant touch that captures the spooky vibe of Halloween.
- Whipped Cream Ghosts: Pipe small dollops of whipped topping on top of each cup and add mini chocolate chips for eyes to create adorable little ghosts.
Side Dishes
- Pumpkin Soup: A warm, creamy pumpkin soup pairs beautifully with these dessert cups. Its savory flavor complements the sweetness of the pudding.
- Baked Sweet Potato Fries: These crispy and naturally sweet fries are a great balance to the rich pudding cups, adding a healthy side option.
- Apple Slices with Caramel Dip: The tartness of apples dipped in caramel provides a refreshing contrast to the sweetness of the pudding, making for an enjoyable combination.
- Crispy Veggie Platter: A colorful array of fresh veggies served with hummus or ranch dressing offers crunch and freshness alongside your rich dessert.
With these serving suggestions, you’re all set to wow your guests this Halloween! Enjoy making these delightful treats that are sure to bring smiles all around.
Make Ahead and Storage
These Halloween Pudding Cups are perfect for meal prep, making them an excellent choice for parties or festive gatherings. You can create these delightful desserts ahead of time and store them, ensuring you have a sweet treat ready to impress your guests!
Storing Leftovers
- Place any leftover pudding cups in the refrigerator.
- Cover each cup with plastic wrap or a lid to keep them fresh.
- Consume within 3-4 days for the best flavor and texture.
Freezing
- While it’s best to enjoy Halloween Pudding Cups fresh, you can freeze the pudding layers separately.
- Freeze the pudding in airtight containers or freezer bags.
- Thaw in the refrigerator overnight before assembling your cups.
Reheating
- There’s no need to reheat these cups; they are best enjoyed cold!
- If you’ve frozen the pudding layers, ensure they are fully thawed before assembling.
FAQs
Have questions about making these spooky treats? Here are some common queries!
Can I use different cake flavors for Halloween Pudding Cups?
Absolutely! While devils food cake gives a rich chocolate flavor, feel free to experiment with other cake mixes like vanilla or red velvet for a fun twist.
How do I decorate my Halloween Pudding Cups?
Get creative! Use Halloween candy, sprinkles, and even edible decorations like gummy worms or eyeballs to make your Halloween Pudding Cups extra festive.
What can I substitute for whipped topping in Halloween Pudding Cups?
If you’re looking for alternatives, you can use coconut whipped cream or a homemade whipped cream made with heavy whipping cream and sugar.
Can I make Halloween Pudding Cups gluten-free?
Yes! Simply use a gluten-free cake mix and ensure that all other ingredients you choose are gluten-free as well.
How long do Halloween Pudding Cups last?
When stored properly in the fridge, these delightful cups will last about 3-4 days.
Final Thoughts
I hope you found joy in this recipe for Halloween Pudding Cups! It’s such a fun way to celebrate the season with family and friends. The vibrant colors and delicious layers make this dessert truly special. Enjoy making them, and don’t hesitate to get creative with your decorations! I can’t wait for you to try this recipe—happy baking!
Halloween Pudding Cups

Get ready to elevate your Halloween celebrations with these delightful Halloween Pudding Cups! This fun and festive treat features layers of rich chocolate cake, creamy white chocolate pudding, and crunchy toppings that will enchant both kids and adults alike. Easy to prepare and perfect for parties, these colorful pudding cups can be customized with your favorite flavors and candies. Whether you’re hosting a spooky gathering or looking for a fun activity to do with the family, these layered desserts are sure to bring smiles all around. Get creative with decorations and enjoy every delicious spoonful!
- Prep Time: 20 minutes
- Cook Time: 30 minutes
- Total Time: 50 minutes
- Yield: Approximately 10 servings 1x
- Category: Dessert
- Method: Baking
- Cuisine: American
Ingredients
- 1 box devils food cake mix
- 2 boxes white chocolate instant pudding
- 4 cups cold milk
- 8 ounces whipped topping
- Neon food coloring (green, orange, purple)
- 1 ½ cups crushed Oreo cookies
- Milano cookies (for garnish)
- Halloween candy and sprinkles
Instructions
- Preheat your oven to 350°F. Prepare a baking dish as directed on the cake mix box.
- In a large bowl, combine the cake mix with water, oil, and eggs as instructed on the box. Pour into the prepared dish and bake until done. Cool completely before cutting into squares.
- In another bowl, whisk together the white chocolate pudding mix with cold milk until thickened.
- Divide the pudding into three bowls, adding food coloring to each for vibrant layers.
- In clear cups or buckets, layer chocolate cake squares followed by colored pudding and sprinkle crushed Oreos in between. Repeat until filled.
- Top with whipped topping and garnish with Milano cookies or seasonal candies.
Nutrition
- Serving Size: 1 cup (240g)
- Calories: 320
- Sugar: 24g
- Sodium: 260mg
- Fat: 14g
- Saturated Fat: 7g
- Unsaturated Fat: 6g
- Trans Fat: 0g
- Carbohydrates: 46g
- Fiber: 2g
- Protein: 5g
- Cholesterol: 30mg