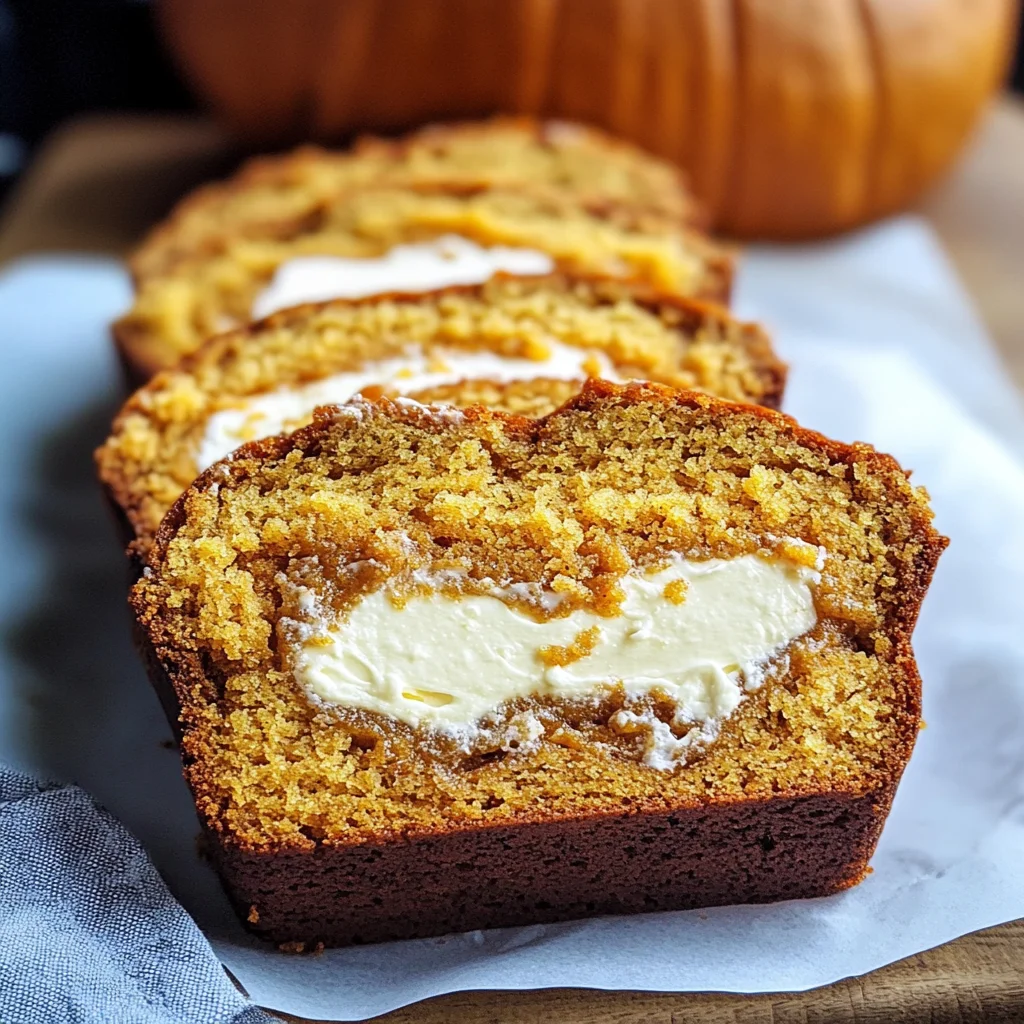
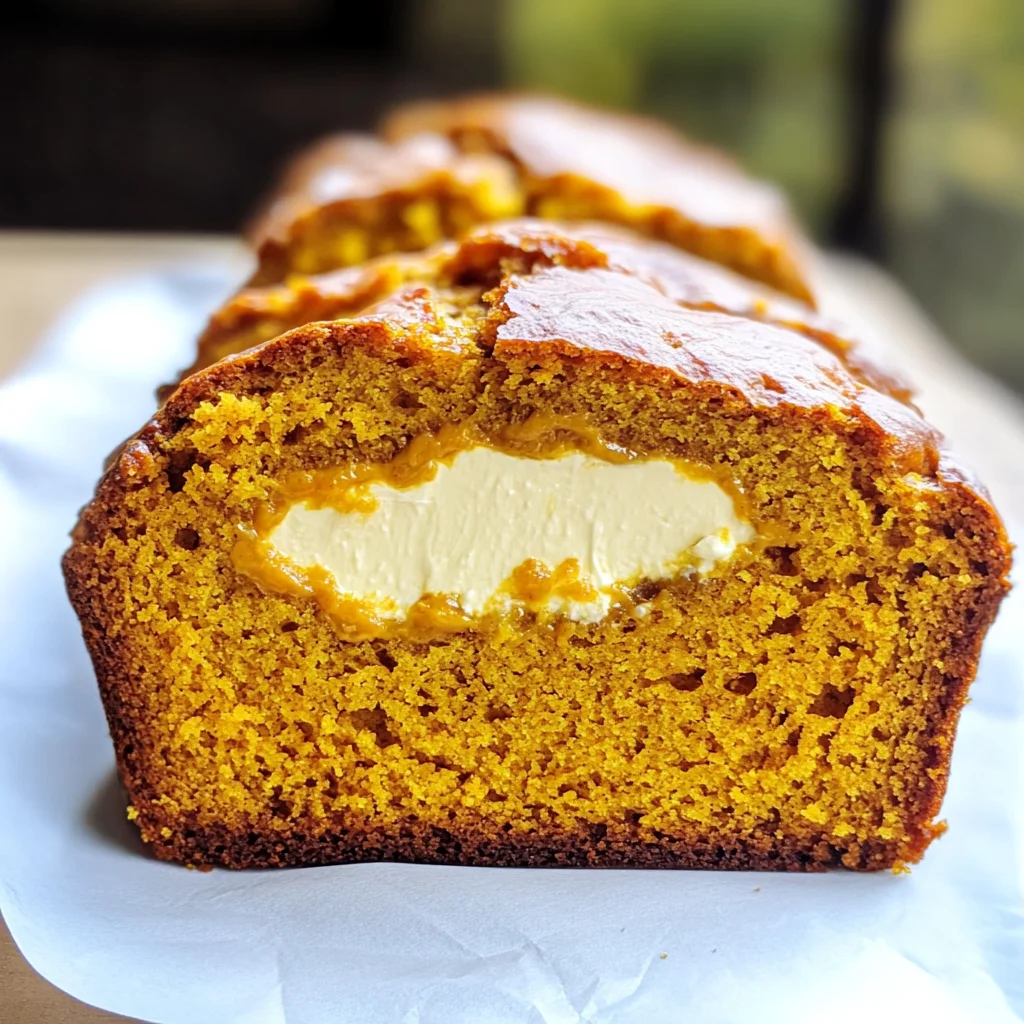
Cream Cheese-Filled Pumpkin Bread
If you’re looking for a cozy treat that perfectly captures the essence of fall, then you’ve landed in just the right place! This Cream Cheese-Filled Pumpkin Bread is not only delicious but also incredibly simple to make. Imagine biting into a warm slice of pumpkin bread, only to discover a rich, creamy layer of cream cheese nestled right in the middle. It’s like having your favorite cheesecake and comforting bread all in one delightful bite!
This recipe is a true favorite around my kitchen. Whether it’s for a busy weeknight dessert, a family gathering, or even as a lovely gift for friends, this pumpkin bread never disappoints. Plus, it’s an excellent way to celebrate the season’s flavors while enjoying some time in the kitchen.
Why You’ll Love This Recipe
- Easy to Prepare: With just a few simple steps, you can whip up this delicious bread without any fuss.
- Family-Friendly: Everyone loves pumpkin bread! The cream cheese filling makes it even more appealing to kids and adults alike.
- Great for Meal Prep: Make it ahead of time and enjoy it throughout the week—perfect for breakfast or an afternoon snack!
- Deliciously Flavorful: The combination of spices and creamy filling creates a taste that’s warm and inviting, making it perfect for fall.
Ingredients You’ll Need
You don’t need fancy ingredients to make this Cream Cheese-Filled Pumpkin Bread. Just some basic staples that are wholesome and easy to find! Here’s what you’ll need:
For the Pumpkin Bread
- 1 large egg
- 1 cup pumpkin puree
- 1/2 cup light brown sugar (packed)
- 1/4 cup granulated sugar
- 1/4 cup liquid-state coconut oil (canola or vegetable may be substituted)
- 1/4 cup sour cream (lite is okay; or Greek yogurt may be substituted)
- 2 teaspoons vanilla extract
- 2 teaspoons cinnamon
- 1 teaspoon pumpkin pie spice
- 1/2 teaspoon ground nutmeg
- 1 cup all-purpose flour
- 1/2 teaspoon baking powder
- 1/2 teaspoon baking soda
- Pinch salt (optional and to taste)
For the Cream Cheese Filling
- 1 large egg
- 4 ounces softened brick-style cream cheese (lite is okay)
- 1/4 cup granulated sugar
- 3 tablespoons all-purpose flour
Variations
One of the best things about this recipe is its flexibility! You can easily customize it based on your preferences or what you have on hand. Here are a few fun variations to consider:
- Add Nuts: Toss in some chopped walnuts or pecans for added crunch and flavor.
- Spice It Up: Experiment with different spices like ginger or cloves for an extra kick.
- Make It Swirled: Instead of layering, swirl the cream cheese filling into the batter for a marbled effect.
- Chocolate Lovers Delight: Add chocolate chips to the batter for a decadent twist!
How to Make Cream Cheese-Filled Pumpkin Bread
Step 1: Preheat Your Oven
Start by preheating your oven to 350°F. This ensures that your bread bakes evenly from start to finish. While that’s heating up, prepare your loaf pan by spraying it with floured cooking spray or greasing and flouring it well.
Step 2: Make the Bread Batter
In a large bowl, combine all your ingredients except the flour, baking powder, baking soda, and optional salt. Whisk until everything is nicely blended. Then gently fold in the dry ingredients until just combined. Be careful not to overmix; we want that light texture!
Step 3: Prepare Your Pan
Spoon about two-thirds of the batter into your prepared loaf pan. Smooth it out gently with a spatula so it’s nice and even. This will be the base layer that holds all that creamy goodness!
Step 4: Create the Cream Cheese Filling
In another bowl, whisk together your cream cheese filling ingredients until smooth. This step is key because you want that filling to be evenly distributed when you pour it over the pumpkin batter.
Step 5: Layer It Up!
Carefully pour the cream cheese mixture over your pumpkin batter in the loaf pan. Use your spatula again to smooth out the top lightly—remember to keep it gentle so you don’t disturb that lovely layer beneath!
Step 6: Top Off with Remaining Batter
Finally, dollop the remaining pumpkin batter on top of your cream cheese filling. Spread it gently so as not to mix it too much—this will help keep those beautiful layers intact!
Step 7: Bake It Up!
Pop your loaf pan into the oven and bake for about 48 minutes. Keep an eye on it! The top should be golden brown and slightly domed when it’s ready. Remember, since there’s cream cheese involved, testing with a toothpick might yield some moist crumbs but no raw batter.
Step 8: Cool and Serve
Once baked, let your bread cool in the pan for about 15 minutes before transferring it onto a wire rack to cool completely. This waiting period helps set those layers beautifully! When ready to serve, slice into thick pieces—feel free to add honey butter or cinnamon-sugar butter on top for an extra treat.
Enjoy every bite of this Cream Cheese-Filled Pumpkin Bread! It’s sure to become a cherished recipe in your home just like it has in mine!
Pro Tips for Making Cream Cheese-Filled Pumpkin Bread
Creating this delicious pumpkin bread is a breeze with a few simple tips to ensure your loaf turns out perfectly every time!
-
Use room temperature ingredients: This helps the batter mix more evenly, resulting in a lighter and fluffier texture. Cold ingredients can create a denser loaf.
-
Don’t overmix the batter: Gently folding in the dry ingredients until just combined prevents the gluten from developing too much, which could lead to a dense bread.
-
Sift your dry ingredients: Sifting flour, baking powder, and spices helps eliminate lumps and ensures an even distribution of flavors throughout the bread.
-
Check for doneness carefully: Since cream cheese filling can keep the center moist, rely on visual cues like a domed top and golden edges rather than just the toothpick test. A few moist crumbs are perfectly fine!
-
Experiment with spices: Feel free to adjust the spices based on your taste preferences. Adding more cinnamon or even nutmeg can enhance the fall flavors that make this bread so comforting.
How to Serve Cream Cheese-Filled Pumpkin Bread
This Cream Cheese-Filled Pumpkin Bread is not only perfect for breakfast but also makes an inviting snack or dessert. Here are some delightful ways to present it!
Garnishes
- Chopped nuts: Toasted walnuts or pecans add a crunchy texture and nutty flavor that complements the softness of the bread.
- Fresh whipped cream: A dollop of whipped cream adds a light and airy touch, perfect for elevating each slice into a delightful treat.
- Cinnamon sprinkle: A light dusting of cinnamon sugar on top right before serving gives an extra layer of flavor and looks enticing.
Side Dishes
- Fresh fruit salad: A mix of seasonal fruits provides a refreshing balance to the rich flavors of pumpkin bread, making it a perfect addition for brunch.
- Yogurt parfait: Layering yogurt with granola and berries alongside your pumpkin bread creates a wholesome and satisfying meal option.
- Coffee or chai tea: The warm notes in these beverages pair beautifully with the spiced bread, making them comforting companions for your slice.
- Cheese platter: A selection of mild cheeses can complement the sweetness of the pumpkin bread, offering variety for those who enjoy sweet and savory combinations.
Now that you have all these serving suggestions and tips at hand, you’re ready to impress friends and family with your homemade Cream Cheese-Filled Pumpkin Bread! Enjoy every slice! 🍞✨
Make Ahead and Storage
This Cream Cheese-Filled Pumpkin Bread is perfect for meal prep! You can bake it ahead of time, making it a delicious treat to enjoy throughout the week. Here’s how to store and keep your pumpkin bread fresh.
Storing Leftovers
- Allow the bread to cool completely before storing.
- Wrap it tightly in plastic wrap or aluminum foil.
- Store in an airtight container at room temperature for up to 3 days.
- For longer freshness, refrigerate the bread for up to a week.
Freezing
- Wrap the cooled pumpkin bread tightly in plastic wrap, then place it in a freezer-safe bag or container.
- Label with the date and freeze for up to 3 months.
- For best results, slice the bread before freezing so you can easily grab a piece whenever you crave it.
Reheating
- To reheat, slice off a piece and microwave for about 15-20 seconds until warmed through.
- Alternatively, you can place slices on a baking sheet and warm them in an oven at 350°F for about 10 minutes.
FAQs
Here are some common questions about this delightful recipe.
Can I make Cream Cheese-Filled Pumpkin Bread without eggs?
Yes! You can substitute one egg with a mixture of 1 tablespoon of ground flaxseed mixed with 3 tablespoons of water. Let it sit for a few minutes until it thickens.
What can I use instead of cream cheese in Cream Cheese-Filled Pumpkin Bread?
You can use vegan cream cheese or a mixture of blended silken tofu with a bit of lemon juice as a great alternative if you’re looking for dairy-free options.
How should I serve Cream Cheese-Filled Pumpkin Bread?
This delicious pumpkin bread is great on its own, but you can enhance it further by serving with honey butter or cinnamon-sugar butter for an extra treat!
What makes this pumpkin bread recipe special?
The combination of spiced pumpkin and creamy filling creates a delightful balance that offers a taste reminiscent of cheesecake, making it perfect for fall gatherings or cozy mornings at home.
Final Thoughts
I truly hope you enjoy making this Cream Cheese-Filled Pumpkin Bread as much as I do! It’s such a comforting recipe that brings warmth and joy during those chilly autumn days. Whether you’re sharing it with friends or savoring each slice yourself, it’s bound to be a hit. Happy baking!
Cream Cheese-Filled Pumpkin Bread
Indulge in the warm flavors of fall with our Cream Cheese-Filled Pumpkin Bread. This delightful treat combines the rich taste of spiced pumpkin with a creamy cream cheese filling, creating a dessert that’s both comforting and satisfying. Perfect for breakfast, snacks, or as a cozy dessert at gatherings, this recipe is incredibly easy to make and can be customized to suit your tastes. Whether you enjoy it plain or with added nuts and spices, each slice promises a delightful burst of flavor that will become a seasonal favorite in your home.
- Prep Time: 15 minutes
- Cook Time: 48 minutes
- Total Time: 1 hour 3 minutes
- Yield: Approximately 10 servings 1x
- Category: Dessert
- Method: Baking
- Cuisine: American
Ingredients
- 1 large egg
- 1 cup pumpkin puree
- 1/2 cup light brown sugar (packed)
- 1/4 cup granulated sugar
- 1/4 cup liquid-state coconut oil (canola or vegetable may be substituted)
- 1/4 cup sour cream (lite is okay; or Greek yogurt may be substituted)
- 2 teaspoons vanilla extract
- 2 teaspoons cinnamon
- 1 teaspoon pumpkin pie spice
- 1/2 teaspoon ground nutmeg
- 1 cup all-purpose flour
- 1/2 teaspoon baking powder
- 1/2 teaspoon baking soda
- Pinch salt (optional and to taste)
- 4 ounces softened brick-style cream cheese (lite is okay)
- 3 tablespoons all-purpose flour
Instructions
- Preheat your oven to 350°F and prepare a loaf pan by greasing it.
- In a large bowl, whisk together the egg, pumpkin puree, sugars, coconut oil, sour cream, vanilla extract, and spices until well combined.
- Gently fold in the flour, baking powder, and baking soda until just mixed.
- Pour two-thirds of the batter into the prepared loaf pan.
- In another bowl, mix cream cheese filling ingredients until smooth and pour over the batter in the loaf pan.
- Top with remaining batter and spread gently.
- Bake for about 48 minutes or until golden brown on top.
- Allow cooling before slicing.
Nutrition
- Serving Size: 1 slice (68g)
- Calories: 180
- Sugar: 12g
- Sodium: 90mg
- Fat: 7g
- Saturated Fat: 4g
- Unsaturated Fat: 2g
- Trans Fat: 0g
- Carbohydrates: 27g
- Fiber: 1g
- Protein: 3g
- Cholesterol: 30mg