Mummy Pops
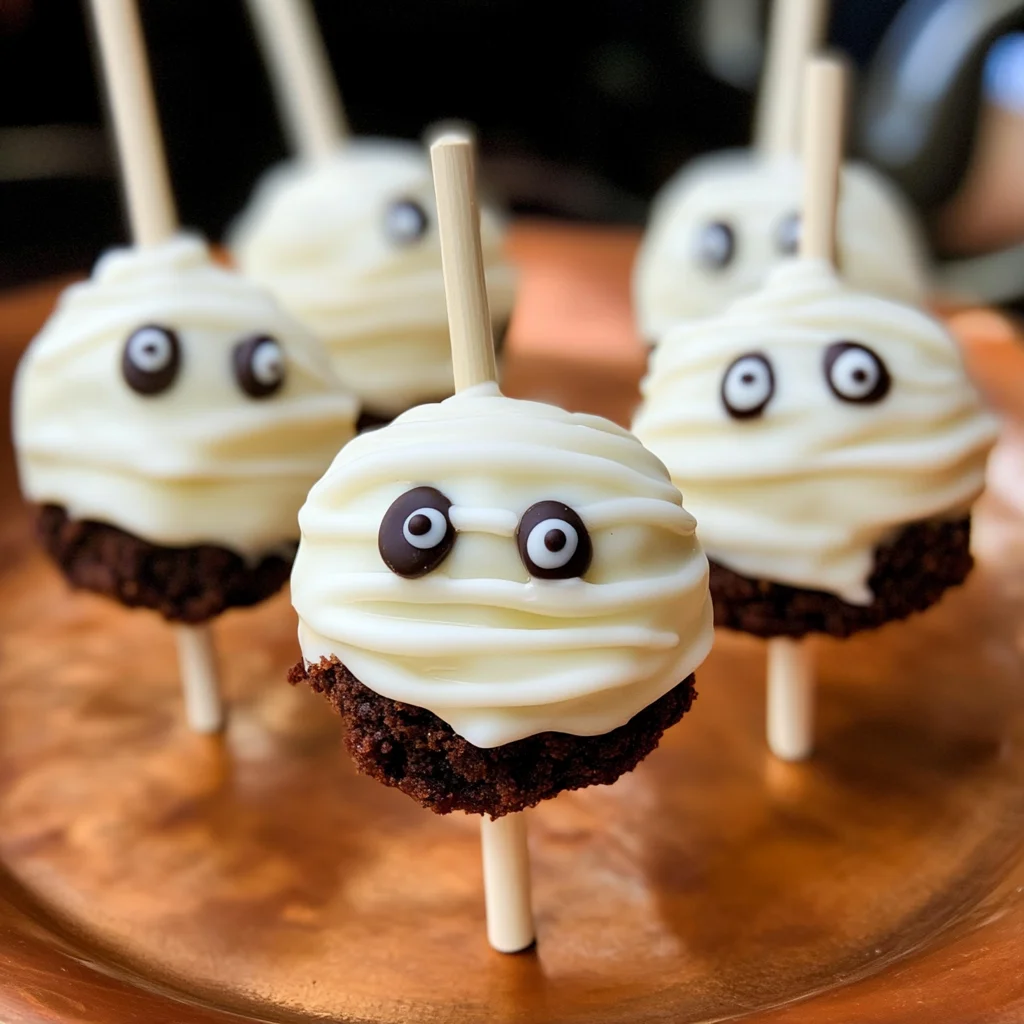
If you’re looking for a fun and delicious treat to celebrate Halloween, look no further than these delightful Mummy Pops! These little bites of joy are made with fudgy dark chocolate brownies and creamy goodness, all wrapped up in a blanket of sweet white chocolate. Not only do they taste amazing, but they also bring a spooky twist to any gathering, making them perfect for both kids and adults alike. Whether you’re hosting a Halloween party or just want to surprise your family on a busy weeknight, these pops are sure to be a hit!
What makes this recipe even more special is how easy it is to whip up. You can even prepare the brownie base a day ahead of time, so all you need to do is assemble the pops when you’re ready. Trust me, once you try these Mummy Pops, you’ll find yourself making them for every Halloween!
Why You’ll Love This Recipe
- Easy to Make: With simple steps and minimal ingredients, you can create these treats without any stress.
- Family-Friendly Fun: Kids will love getting involved in the decorating process; it’s a great way to bond while baking!
- Make Ahead Convenience: Prepare the brownie mix the day before and just assemble when you need them.
- Delicious Flavor: The combination of rich brownies with sweet white chocolate creates a mouthwatering treat that everyone will enjoy.
- Spooky Presentation: These Mummy Pops are sure to impress at any Halloween gathering with their cute and creative design.
Ingredients You’ll Need
Gathering the ingredients for Mummy Pops is as easy as pie! You’ll find that everything is simple and wholesome. Let’s dive into what you need:
For the Brownie Base
- 1- (17.8-ounce) box Betty Crocker Supreme Triple Chunk Brownie Mix
- 1 large egg
- 1/4 cup water
- 1/3 cup canola oil
- Cooking spray
For the Creamy Filling
- 4 ounces cream cheese
For the White Chocolate Coating
- 3 cups white chocolate chips (or 18 ounces of a white chocolate bar)
- 30 mini chocolate chips
Variations
The beauty of Mummy Pops lies in their flexibility! Feel free to get creative with these variations:
- Switch Up the Chocolate: Use milk chocolate instead of white for a different flavor profile!
- Add Some Crunch: Mix in some crushed nuts or sprinkles for added texture on top of your pops.
- Flavor the Cream Cheese: Add vanilla extract or peppermint extract to the cream cheese for an extra layer of flavor.
- Go Vegan: Substitute vegan cream cheese and dairy-free chocolate chips for a plant-based version.
How to Make Mummy Pops
Step 1: Prepare the Brownies
Start by preparing the brownie mix according to package directions, but don’t bake them just yet! This step is crucial because it builds that rich base flavor we all love. You can do this up to one day in advance—just cover it tightly and refrigerate until you’re ready.
Step 2: Bake Your Brownies
Preheat your oven to 350 degrees F and spray your baking pan with cooking spray. Mixing together the brownie mix, egg, water, and canola oil creates that luscious batter. Pour it into your prepared pan and bake for 26-31 minutes until those edges are crispy and the center looks set. Once it’s done, let it cool for about 30 minutes—this will make handling much easier later!
Step 3: Blend It All Together
After cooling, remove those chewy brownie centers from the pan (don’t forget to snack on those crispy edges!). Pop them into a food processor along with your cream cheese. Pulse until everything combines into a dough-like consistency—this is where magic happens!
Step 4: Shape Your Pops
Line a baking sheet with parchment paper. Using a 2-tablespoon size scoop, form balls out of your brownie mixture and place them on that lined sheet—this part is like playing with delicious dough! I usually get about 15 pops from this recipe.
Step 5: Freeze Them Up
Cut your paper straws in half and insert them into each brownie ball before freezing. This helps keep everything together while you dip later on. Freeze those pops for at least an hour or overnight if you have time.
Step 6: Melt & Coat
When you’re ready to decorate, melt your white chocolate according to package instructions. Dip each frozen pop into that smooth coating until fully covered; place them back on your baking sheet afterward.
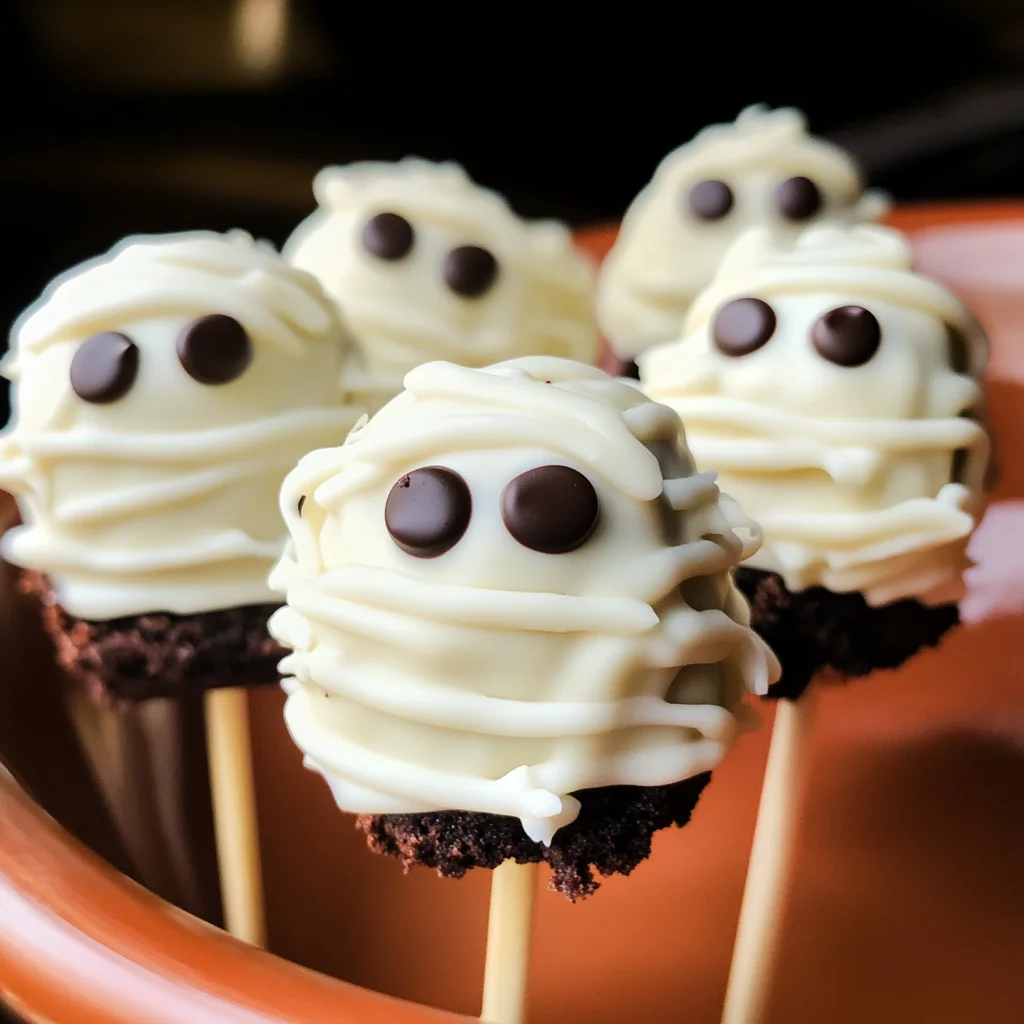
Step 7: Create Your Mummies
Here comes the fun part! Drizzle some melted white chocolate over each pop to make them look like mummies—get creative here! Then add two mini chocolate chips as eyes. Repeat this for all pops; then keep them covered in the fridge until it’s time to serve!
And there you have it—funny little Mummy Pops ready for Halloween festivities! Enjoy making memories while sharing these tasty treats with family and friends!
Pro Tips for Making Mummy Pops
Making Mummy Pops can be a delightful experience! Here are some tips to ensure your pops turn out perfectly every time.
-
Use quality chocolate: High-quality white chocolate will melt smoother and taste better, making your mummy pops extra delicious and visually appealing.
-
Chill the brownie mixture: Freezing the brownie balls before dipping them in chocolate helps them maintain their shape and makes it easier to coat them evenly.
-
Drizzle creatively: When drizzling the melted white chocolate on top, use a fork or piping bag for more control, creating that spooky, mummy-like effect!
-
Keep an eye on the oven: Different ovens can vary in temperature; check your brownies a few minutes early to avoid overbaking and keep them moist for the best texture.
-
Experiment with flavors: Feel free to add different extracts, like vanilla or almond, to your brownie mix for an extra flavor boost!
How to Serve Mummy Pops
These adorable Mummy Pops are perfect for Halloween parties or as a fun treat any time of year. Presenting them well can make all the difference!
Garnishes
- Sprinkles: Adding festive Halloween-themed sprinkles can enhance the visual appeal of your mummy pops and create a fun atmosphere.
- Chocolate drizzle: A light drizzle of dark chocolate on the pops can add contrast and richness, elevating their look and flavor.
Side Dishes
- Spooky Fruit Salad: Combine seasonal fruits like oranges, grapes, and berries for a colorful side that’s refreshing and festive.
- Pumpkin Spice Muffins: These muffins bring in autumn flavors that complement the sweetness of Mummy Pops beautifully.
- Ghostly Veggie Platter: Arrange sliced veggies in ghost shapes with dips in small cups for a healthy yet playful side that kids will love.
- Crispy Caramel Apples: Offering these sweet treats alongside Mummy Pops adds variety to your dessert table while keeping the Halloween spirit alive!
With these ideas, you’re ready to impress friends and family with your creative presentation of Mummy Pops. Enjoy every bite!
Make Ahead and Storage
These Mummy Pops are perfect for meal prep! You can make them in advance, allowing you to enjoy your Halloween festivities without the last-minute rush. Here’s how to store and preserve your spooky treats:
Storing Leftovers
- Store any leftover Mummy Pops in an airtight container in the refrigerator.
- They will stay fresh for about 3-5 days.
- Be sure to keep them separated with parchment paper if stacking to prevent sticking.
Freezing
- For longer storage, freeze the Mummy Pops before dipping them in white chocolate.
- Place the pops on a baking sheet and freeze until solid, then transfer them to a freezer-safe bag or container.
- They can be stored in the freezer for up to 2 months.
Reheating
- There’s no need to reheat Mummy Pops; they are best enjoyed chilled straight from the fridge or frozen.
- If you prefer them at room temperature, let them sit out for about 10-15 minutes before serving.
FAQs
Here are some frequently asked questions about these delightful Mummy Pops:
Can I use a different type of chocolate for my Mummy Pops?
Absolutely! While white chocolate gives a classic mummy look, you can experiment with milk chocolate or even dark chocolate if you prefer a richer flavor.
How do I store my Mummy Pops?
To store your Mummy Pops, place them in an airtight container in the refrigerator. This keeps them fresh for 3-5 days—perfect for snacking!
Can I make Mummy Pops ahead of time?
Yes! You can prepare Mummy Pops in advance by freezing them before dipping. This way, you have a fun treat ready whenever you need it!
What’s the best way to decorate my Mummy Pops?
For decorating, simply drizzle melted white chocolate over the pops and use mini chocolate chips as eyes. Get creative with your designs!
Final Thoughts
I hope you’re as excited as I am about making these adorable Mummy Pops! They’re not only delicious but also bring a festive touch to your Halloween celebrations. Whether you’re sharing them with friends or enjoying them at home, I’m sure you’ll love every bite. Happy Halloween baking, my friend!
Mummy Pops

Get ready to delight your taste buds this Halloween with Mummy Pops, a fun and scrumptious treat that promises to bring joy to both kids and adults alike! These adorable dessert pops feature fudgy brownies packed with creamy goodness, all enveloped in a sweet white chocolate coating. They are not only visually appealing but also incredibly easy to make, making them the perfect addition to your Halloween festivities. With just a few simple ingredients and steps, you can create these charming Mummy Pops that are sure to impress at any gathering.
- Prep Time: 30 minutes
- Cook Time: 31 minutes
- Total Time: 1 hour 1 minutes
- Yield: Approximately 15 Mummy Pops 1x
- Category: Dessert
- Method: Baking
- Cuisine: American
Ingredients
- 1 (17.8-ounce) box Betty Crocker Supreme Triple Chunk Brownie Mix
- 1 large egg
- 1/4 cup water
- 1/3 cup canola oil
- 4 ounces cream cheese
- 3 cups white chocolate chips
- 30 mini chocolate chips
Instructions
- Prepare brownie mix as directed but do not bake; refrigerate until ready.
- Bake brownies at 350°F for 26-31 minutes; cool completely.
- Blend cooled brownies with cream cheese until dough-like consistency.
- Form mixture into balls (about 2 tablespoons each) and freeze for at least an hour.
- Melt white chocolate and dip each frozen pop until fully coated.
- Drizzle melted white chocolate over pops and add mini chocolate chips as eyes.
Nutrition
- Serving Size: 1 serving
- Calories: 160
- Sugar: 13g
- Sodium: 45mg
- Fat: 8g
- Saturated Fat: 3g
- Unsaturated Fat: 5g
- Trans Fat: 0g
- Carbohydrates: 20g
- Fiber: 1g
- Protein: 2g
- Cholesterol: 10mg