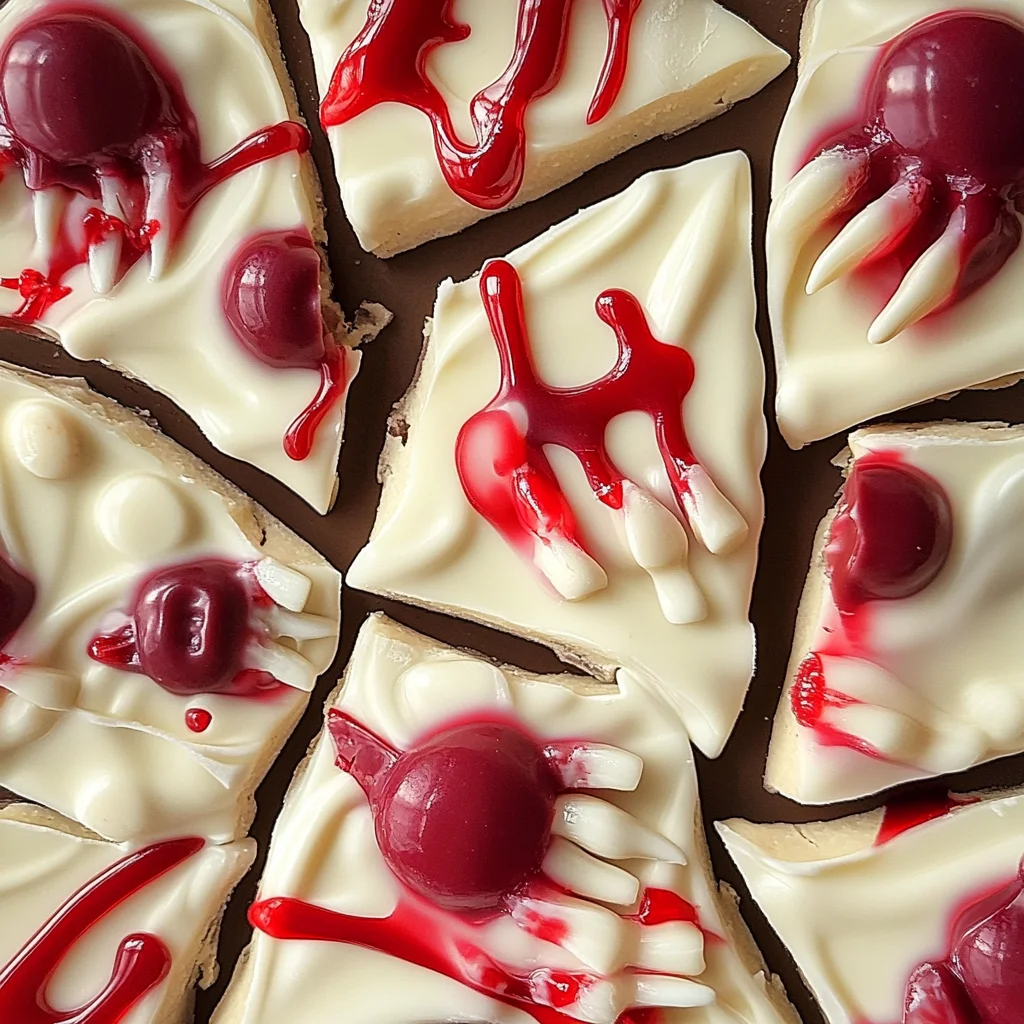
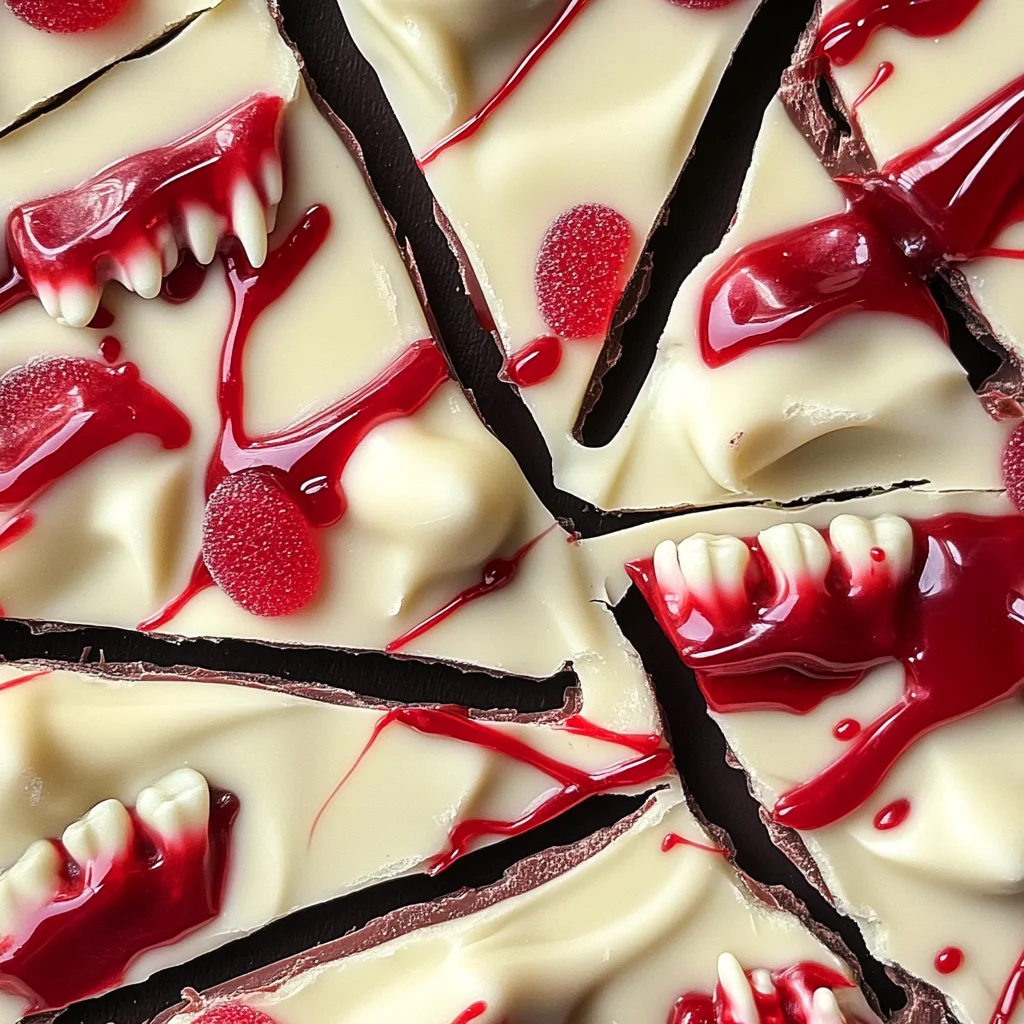
Vampire Chocolate Halloween Bark
If you’re looking for a simple yet delightful treat to bring a little spooky fun to your Halloween festivities, you’ve come to the right place! This Vampire Chocolate Halloween Bark is not only delicious but also incredibly easy to make. I love how it combines smooth white chocolate with a playful red drizzle and gummy vampire fangs, making it a hit with kids and adults alike. Whether you’re hosting a Halloween party, looking for fun treats for trick-or-treaters, or just want to indulge in some festive goodness, this recipe is perfect for any occasion!
What makes this recipe even more special is how quick it is to whip up—just 20 minutes from start to finish! It’s one of those go-to recipes that always impresses without requiring hours in the kitchen. Plus, who can resist the charm of homemade sweets? Let’s dive into why you’ll absolutely love making this spooky treat!
Why You’ll Love This Recipe
- Super Simple: With just a few ingredients and minimal effort, you can create a show-stopping dessert in no time!
- Family-Friendly Fun: Kids will have a blast helping out with decorating the bark and placing the gummy teeth.
- Make Ahead Convenience: Prepare this bark ahead of time and store it in the fridge until you’re ready to serve—it’s perfect for busy schedules!
- Deliciously Unique Flavor: The combination of creamy white chocolate and fruity gummy fangs creates a delightful taste that everyone will enjoy.
Ingredients You’ll Need
Let’s gather our simple, wholesome ingredients for this bewitching treat! You probably already have most of these at home, which makes it even easier to whip up some Vampire Chocolate Halloween Bark.
For the Bark
- 10 oz white melting chocolate
- 18 gummy vampire teeth
- 1 tube edible red gel
Variations
This recipe is wonderfully flexible, allowing you to get creative with your ingredients! Here are some fun variation ideas:
- Add some crunch: Mix in chopped nuts or crushed pretzels for an extra texture contrast.
- Switch up the colors: Use colored candy melts instead of white chocolate for a vibrant twist.
- Try different toppings: Instead of gummy teeth, use other fun candies like eyeball gummies or spooky sprinkles.
- Go dark: Use dark chocolate instead of white for a richer flavor profile.
How to Make Vampire Chocolate Halloween Bark
Step 1: Prepare Your Workspace
Start by lining a sheet pan with parchment paper. This step is crucial because it prevents the chocolate from sticking and makes cleanup super easy!
Step 2: Melt the Chocolate
Place the white chocolate in a microwave-safe bowl. Microwave it in 30-second increments, stirring between each round until it’s completely melted. Melting slowly helps maintain that creamy texture we all love!
Step 3: Spread & Decorate
Pour the melted chocolate onto the prepared sheet pan and spread it into an even layer about ¼ inch thick. While it’s still warm and gooey, quickly place the gummy vampire teeth on top. To create those eerie blood dots, insert the tip of your red gel tube just below each fang. Press gently as you pull it out—this creates that perfect dripping effect!
Step 4: Set It All
Pop your sheet pan into the fridge for about 5 minutes to let everything set up nicely. This short chilling time helps firm up the bark so that you can break it into pieces easily later on.
Step 5: Break Into Pieces
Once set, grab a sharp knife and break the bark into individual pieces. Aim to include at least one vampire fang in each piece for maximum spookiness!
And there you have it—your very own Vampire Chocolate Halloween Bark! Perfectly festive and delightfully delicious, this treat will surely bring smiles at any gathering! Enjoy your spooky creation!
Pro Tips for Making Vampire Chocolate Halloween Bark
Crafting the perfect Vampire Chocolate Halloween Bark is a breeze, especially with a few handy tips to guide you!
-
Choose Quality Chocolate – Using high-quality melting chocolate will ensure your bark has a smooth texture and rich flavor, making each bite more delicious.
-
Work Quickly – The melted chocolate sets fast! Be ready to place your gummy fangs and drizzle the red gel before the chocolate hardens to achieve that spooky look.
-
Experiment with Colors – While this recipe focuses on white chocolate, consider using colored melting chocolates to create a fun twist. Different colors can add an extra pop to your Halloween treat!
-
Store Properly – To keep the bark fresh and maintain its appearance, store it in an airtight container at room temperature away from direct sunlight. This will help prevent any melting or moisture buildup.
How to Serve Vampire Chocolate Halloween Bark
Presenting your Vampire Chocolate Halloween Bark is just as exciting as making it! With a little creativity, you can make it the highlight of your Halloween festivities.
Garnishes
- Sprinkles – A sprinkle of black or orange candy sprinkles can add a festive touch that complements the vampire theme beautifully.
- Chocolate Chips – Adding some mini chocolate chips around the edges creates an appealing contrast and enhances the chocolatey flavor.
Side Dishes
- Apple Slices with Caramel Dip – Crisp apple slices paired with sweet caramel dip offer a refreshing contrast to the rich bark.
- Popcorn Mix – A mix of popcorn, pretzels, and candy corn provides a delightful crunchy side that balances out the sweetness.
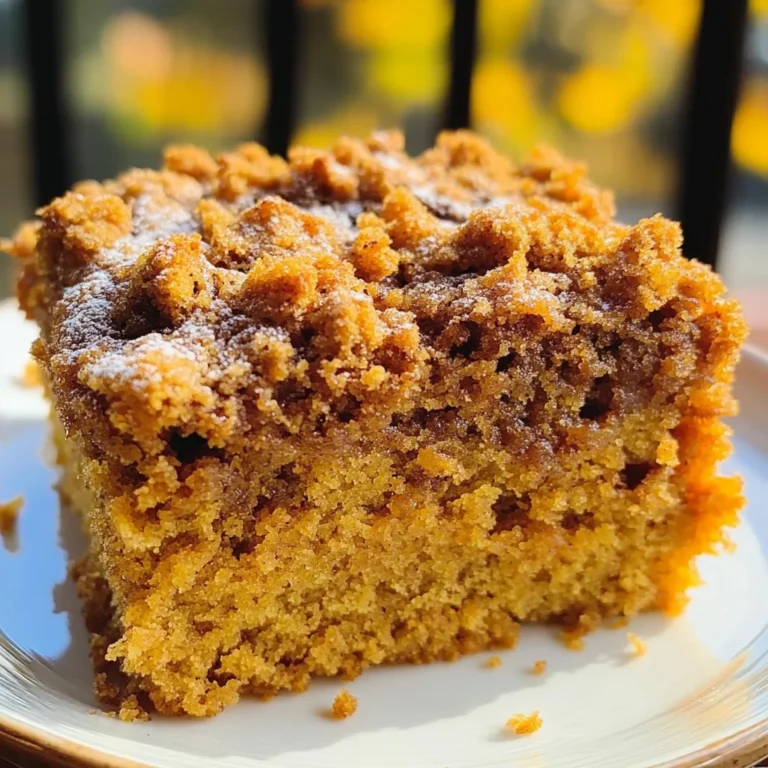
- Pumpkin Spice Cupcakes – These moist cupcakes are perfect for fall and pair wonderfully with the chocolate bark for dessert lovers!
- Ghostly Cheese Platter – A selection of cheeses shaped like ghosts or spooky figures can be an exciting savory addition before indulging in sweets.
With these serving suggestions, your Vampire Chocolate Halloween Bark is sure to be a hit at any gathering! Enjoy creating and sharing these delightful treats with friends and family this spooky season.
Make Ahead and Storage
This Vampire Chocolate Halloween Bark is not only a delightful treat to make for Halloween, but it’s also a fantastic option for meal prep! You can whip up a batch in no time and store it for later enjoyment. Here’s how to keep your spooky bark fresh and tasty.
Storing Leftovers
- Keep the bark in an airtight container at room temperature to maintain its delightful crunch.
- For best freshness, consume within one week.
- If you have a lot left over, consider splitting it into smaller portions to share with friends or family!
Freezing
- While this treat is best enjoyed fresh, you can freeze it for longer storage.
- Wrap individual pieces in parchment paper and then place them in a freezer-safe bag or container.
- The bark can be stored in the freezer for up to three months.
Reheating
- There’s no need to reheat this treat; simply enjoy it straight from the fridge or freezer!
- If you prefer it slightly softened, let it sit at room temperature for about 10 minutes before serving.
FAQs
Here are some common questions about making Vampire Chocolate Halloween Bark.
Can I use regular chocolate instead of white chocolate in the Vampire Chocolate Halloween Bark?
While white chocolate gives that ghostly appearance perfect for Halloween, you could substitute with milk or dark chocolate if you prefer. Just remember that it will change the look and flavor profile of your bark!
How long does Vampire Chocolate Halloween Bark last?
When stored properly in an airtight container at room temperature, your Vampire Chocolate Halloween Bark will last about one week. If frozen, it can stay fresh for up to three months!
What can I use instead of gummy vampire teeth?
If gummy vampire teeth are hard to find, consider using any gummy candy that fits the spooky theme. Gummy worms or eyeball candies can create an equally fun effect!
Is this recipe suitable for kids to help with?
Absolutely! Making Vampire Chocolate Halloween Bark is a fun activity that kids can join in on. They’ll love placing the gummy teeth and decorating with red gel!
Final Thoughts
I hope you’re as excited about making this Vampire Chocolate Halloween Bark as I am! It’s such a fun and easy dessert that not only looks amazing but tastes delicious too. Perfect for parties or just a cozy night in watching spooky movies! Enjoy crafting this delightfully creepy treat, and don’t forget to share your creations with friends and family. Happy Halloween baking!
Vampire Chocolate Halloween Bark
Bring some spooky sweetness to your Halloween festivities with Vampire Chocolate Halloween Bark! This easy-to-make treat combines creamy white melting chocolate, fruity gummy fangs, and a playful red drizzle that will delight both kids and adults alike. In just 20 minutes, you can whip up this charming dessert that’s perfect for parties, trick-or-treaters, or a cozy night of Halloween-themed movie watching. Its fun presentation and delicious flavor make it a must-try this season.
- Prep Time: 10 minutes
- Cook Time: 10 minutes
- Total Time: 20 minutes
- Yield: Approximately 10 servings 1x
- Category: Dessert
- Method: No-Bake
- Cuisine: American
Ingredients
- 10 oz white melting chocolate
- 18 gummy vampire teeth
- 1 tube edible red gel
Instructions
- Line a sheet pan with parchment paper.
- Melt the white chocolate in a microwave-safe bowl in 30-second increments, stirring until smooth.
- Pour the melted chocolate onto the prepared pan and spread it into an even layer about ¼ inch thick.
- While warm, place the gummy vampire teeth on top and use the red gel to create dripping effects beneath each fang.
- Chill in the fridge for about 5 minutes until set.
- Once firm, break into pieces ensuring each piece has at least one fang.
Nutrition
- Serving Size: 1 piece
- Calories: 130
- Sugar: 14g
- Sodium: 15mg
- Fat: 7g
- Saturated Fat: 4g
- Unsaturated Fat: 2g
- Trans Fat: 0g
- Carbohydrates: 16g
- Fiber: 0g
- Protein: 1g
- Cholesterol: 0mg